Chief Architect helps educators focus on teaching concepts and less on teaching software. Chief Architect includes a complete curriculum with a digital reference manual and tutorial guide as well as access to interactive training videos making it easy to learn and teach your architectural or interior design classes.
Chief Architect is offering a free Student License to allow more flexibility for students to complete coursework outside the classroom. Licenses are valid through February 1, 2024.

“I teach Chief Architect to high school students and have never seen them more excited about any other program.”
—Jon Jones, Teacher
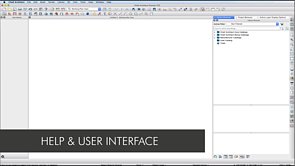
Becoming familiar with the Help resources and the User Interface are important first steps in learning to use the Chief Architect program. Access the Help menu to locate the interactive Help, the Reference Manual, Tutorial Guide, Training Videos, ChiefTalk User Forum, and more. Learn where tools and toolbars are located, how to access the various side windows, and how to select and modify objects.
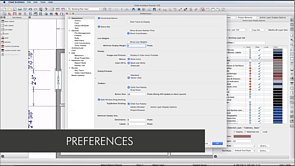
Preference settings are global program settings that can be customized to your liking. These may include customizing how the interface looks or how the tools are accessed. Preferences apply to all plan and layout files, and are preserved between program sessions.
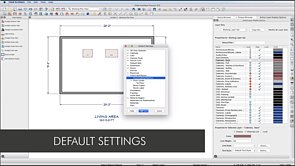
Default settings determine the initial characteristics of objects when they are first drawn. Setup your default settings before beginning a project to save time and improve productivity. Unlike preferences, default settings are file specific.
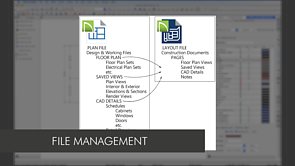
File management is an important concept when working with projects in Chief Architect. Learn how to create file folders, as well as the recommended practices for saving plan, layout, and other related files to your system.
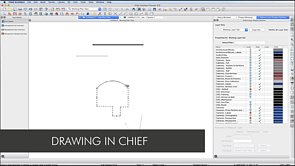
Select a tool and either click, or click-and-drag, in the working space to draw objects. Once objects are placed, they can be edited and customized using various edit handles.
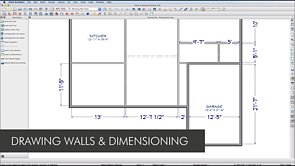
Learn how to define wall types and draw walls in Chief Architect. After walls have been drawn, use dimensions to precisely position them in the plan.
Plan files can contain up to 30 floors in Chief Architect. Learn how to create additional floor levels, such as for a basement, foundation, or second floor.
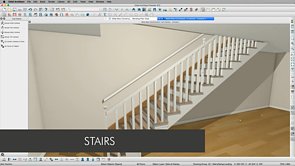
Use the Stair tools to create a variety of different staircases. Landings can be used to separate stair sections and a stairwell can be generated. Open a staircase up to specification to adjust additional properties such as materials, railings, treads, risers, and more.
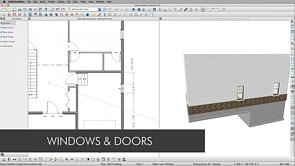
With a Window or Door tool selected, click on a wall to place it at that location; then adjust the style, the size, and other attributes.
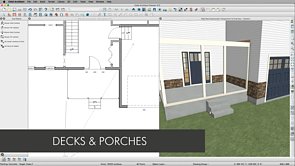
Use railings to establish the footprint for a deck or porch. Once the room type is specified, the floor and ceiling platform will be defined using the options specified in the Deck or Porch Room Defaults dialog.
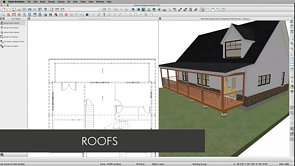
Several roof styles can be generated automatically in Chief Architect. However, it may be necessary to make manual modifications or create additional roof planes for more complex roof situations.
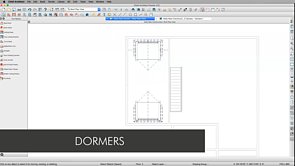
Like roofs, dormers can be created automatically or drawn manually. Use the Auto Dormer tools to place dormers automatically, or use a combination of walls and roof planes to create a manual dormer.
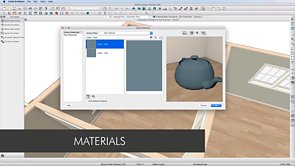
Materials are applied to objects in Chief Architect. Learn the difference between a material’s pattern and texture, as well as how to apply materials. You can also download additional materials from the 3D Library or create your own custom materials.
Apply base and crown molding to a room or to an entire floor using profiles found in the Library Browser. Use the Library Browser to also locate furniture and other furnishings that can be selected and placed in your designs.
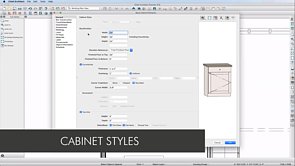
Learn how to adjust materials, door/drawer styles, hardware, the box construction, moldings, and various other cabinet properties in the Cabinet Defaults or Cabinet Specification dialog.
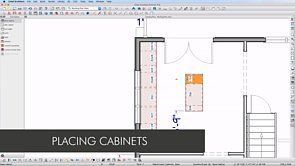
Similar to other objects, cabinets can be placed by selecting a Cabinet tool and clicking in the desired location. Corner cabinets can also be created by clicking near a wall corner.
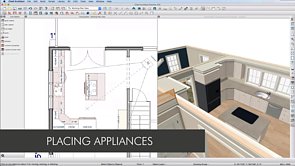
Appliances and fixtures, which are located in the Library Browser, can be inserted into cabinets or placed as stand-alone objects.
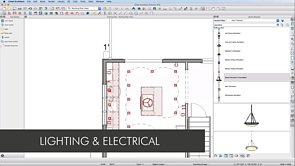
A wide variety of electrical objects, including light fixtures are available in the Library Browser. You can select and place these objects directly from the Library Browser, or you can specify which objects are placed by default when you use the Electrical Tools.
Automatic framing for walls, floors, ceilings, and roofs can be generated by accessing the Build Framing dialog. Manual framing can also be created, such as in situations where beams or trusses are desired.
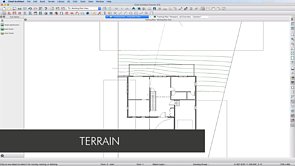
It’s recommended to create a Terrain Perimeter on Floor 1. After the Terrain has been created, adjust its height relative to the structure, modify the shape of the lot, and adjust the slope to your liking.
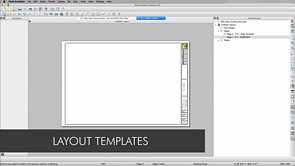
A layout file is equivalent to a construction document, wherein it contains text, schedules, CAD details, and scaled views. It can also consist of a title page, a title border, designer and/or company information, and other details that may stay the same from project to project. Save time by creating a customized layout template that can be used for projects going forward.
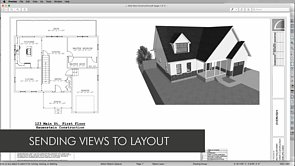
Scaled views are sent from a plan file to a layout file using the Send to Layout tool. Learn how to send elevation views, plan views, camera views, as well as schedules and other content, directly to the layout. When the layout is complete, generate a PDF file or send the layout file to a printer or plotter.